
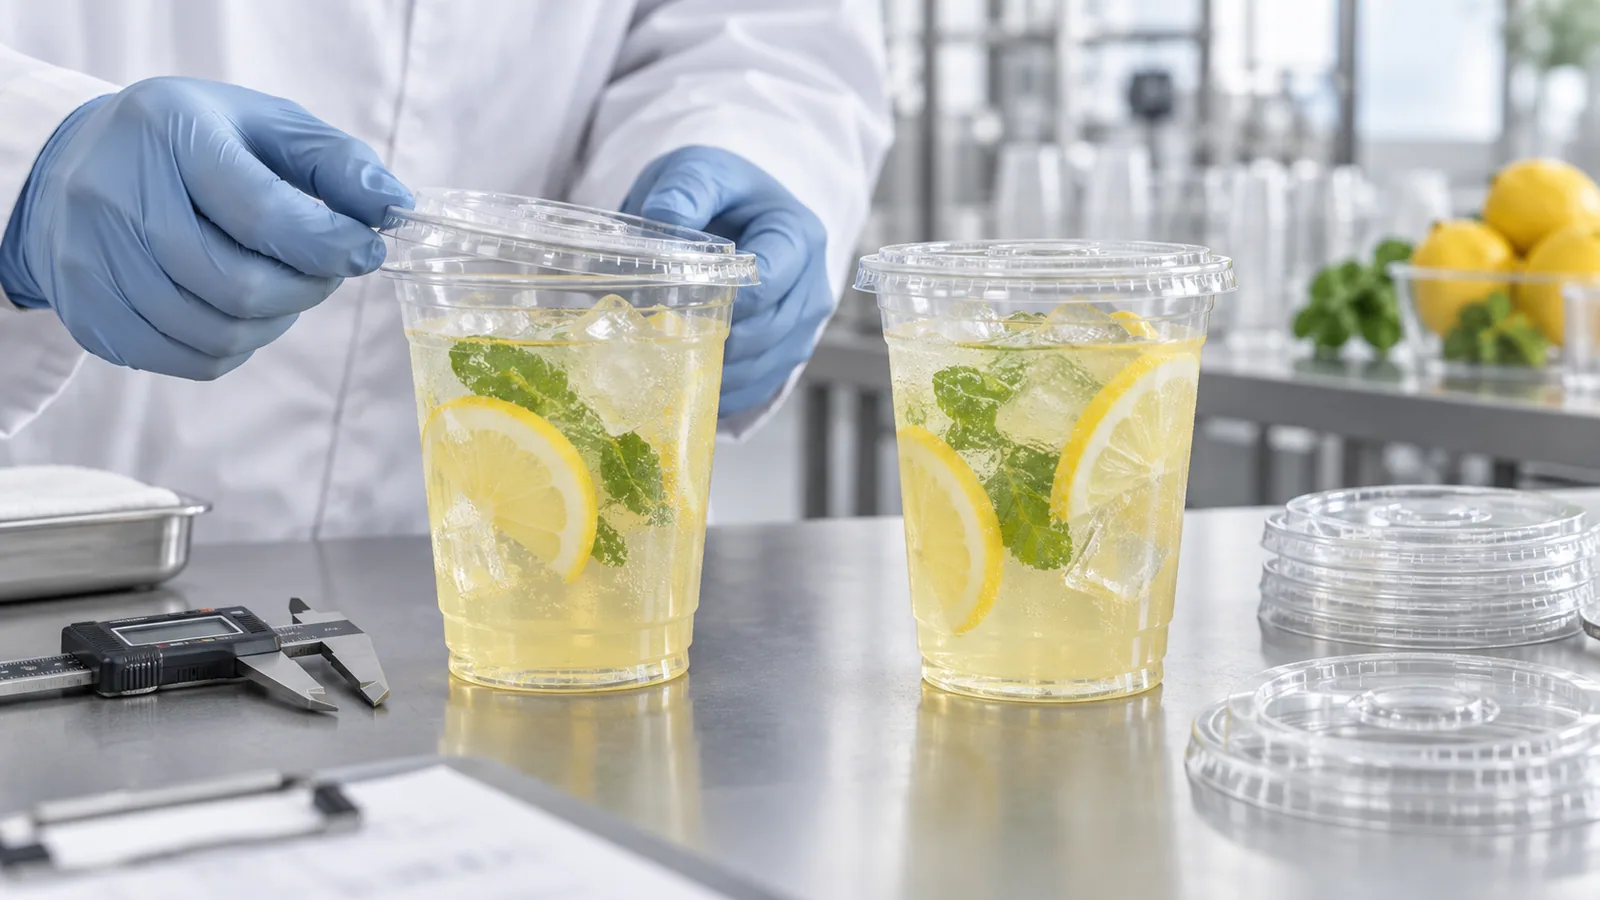
Quick Summary
- A lid that snaps on once is not automatically a reliable match; retention must be checked during realistic handling.
- Nominal rim diameter narrows the options, but the rolled rim, lid locking skirt, stiffness and production tolerance determine actual engagement.
- Many service failures come from mixed lid SKUs, incomplete perimeter seating, product on the rim, excessive fill height or sidewall compression.
- Buyers should approve the exact cup-and-lid pair with written SKU control, representative samples and a repeatable filled-cup test.
A plastic cup lid usually pops off because the lid never achieved stable engagement with the complete rim, or because that engagement was lost when the filled cup was handled. The cause may be an incompatible cup-and-lid pair, an unseated section, a deformed component, product on the rim, excessive fill height, sidewall compression or production variation. Buyers should separate these possibilities before changing the cup, blaming the lid or approving a bulk replacement.
Quick Diagnosis Rule
Freeze the pair, locate the lift point, then reproduce the service condition. Confirm the exact cup SKU and matching lid SKU first. Apply the lid on a clean, undamaged sample and mark where separation begins. Repeat the test with the intended beverage, fill level, grip, carrier and transport method. This sequence distinguishes a basic compatibility problem from an application or handling problem.
A lid that can be pressed onto an empty cup has shown initial fit only. Commercial approval also needs acceptable application, full rim engagement, retention and filled-cup behavior. If leakage or spill resistance matters, define a specific test and acceptance criterion rather than treating “snaps on” as proof of delivery performance.
The 8 Common Reasons Plastic Cup Lids Pop Off
The visible symptom is similar—a lid edge rises or the closure separates—but the corrective action depends on the cause. The table below gives buyers a practical first-pass diagnosis.
| Possible cause | Typical clue | Buyer check | Corrective direction |
|---|---|---|---|
| Wrong cup-and-lid combination | Fit is consistently loose, tight or unstable across many samples | Compare exact cup and lid SKUs, not only nominal diameter | Use the supplier-approved matched lid series |
| Incomplete perimeter seating | One section remains visibly high after application | Press and inspect the full circumference | Standardize the application method and retrain staff |
| Deformed or out-of-round rim | The lid fits some samples but fails repeatedly on visibly distorted ones | Inspect cup shape and compare samples from other sleeves | Isolate damaged or affected production lots |
| Warped or damaged lid | The same cup works with another lid from a sound stack | Check lid nesting, storage and locking-skirt condition | Protect lid stacks and reject damaged pieces |
| Liquid, ice or topping on the rim | Failures increase during busy service or overfilled drinks | Clean the rim and repeat at a controlled fill level | Set a fill line and keep the closure interface clear |
| Cup sidewall compression | The lid lifts when the cup is squeezed, gripped or forced into a carrier | Repeat the normal hand-grip and carrier-loading sequence | Adjust handling or select a verified system with suitable retention |
| Contents contacting the lid | Foam, fruit or toppings push upward during closure or movement | Review headspace and finished-drink height | Reduce fill height or use an approved dome-lid option |
| Batch or tolerance variation | Failures cluster by sleeve, carton or production lot | Sample across lots and compare critical dimensions | Quarantine the affected lot and review it against the approved specification |
Nominal Diameter Is Not a Compatibility Guarantee
Measurements such as 90 mm, 95 mm and 98 mm are useful for identifying candidate lid families, but they do not describe the entire locking interface. Two products can carry the same nominal diameter and still differ in actual rim diameter, rolled-rim thickness, curvature, lid-skirt geometry, stiffness and manufacturing tolerance.
This is why a lid from one supplier may not remain secure on another supplier's cup even when both are called 98 mm. A nominal measurement helps shortlist components; the supplier's exact compatibility data and physical sample approval determine whether the combination should be purchased.
Do Not Approve a “Near Fit”
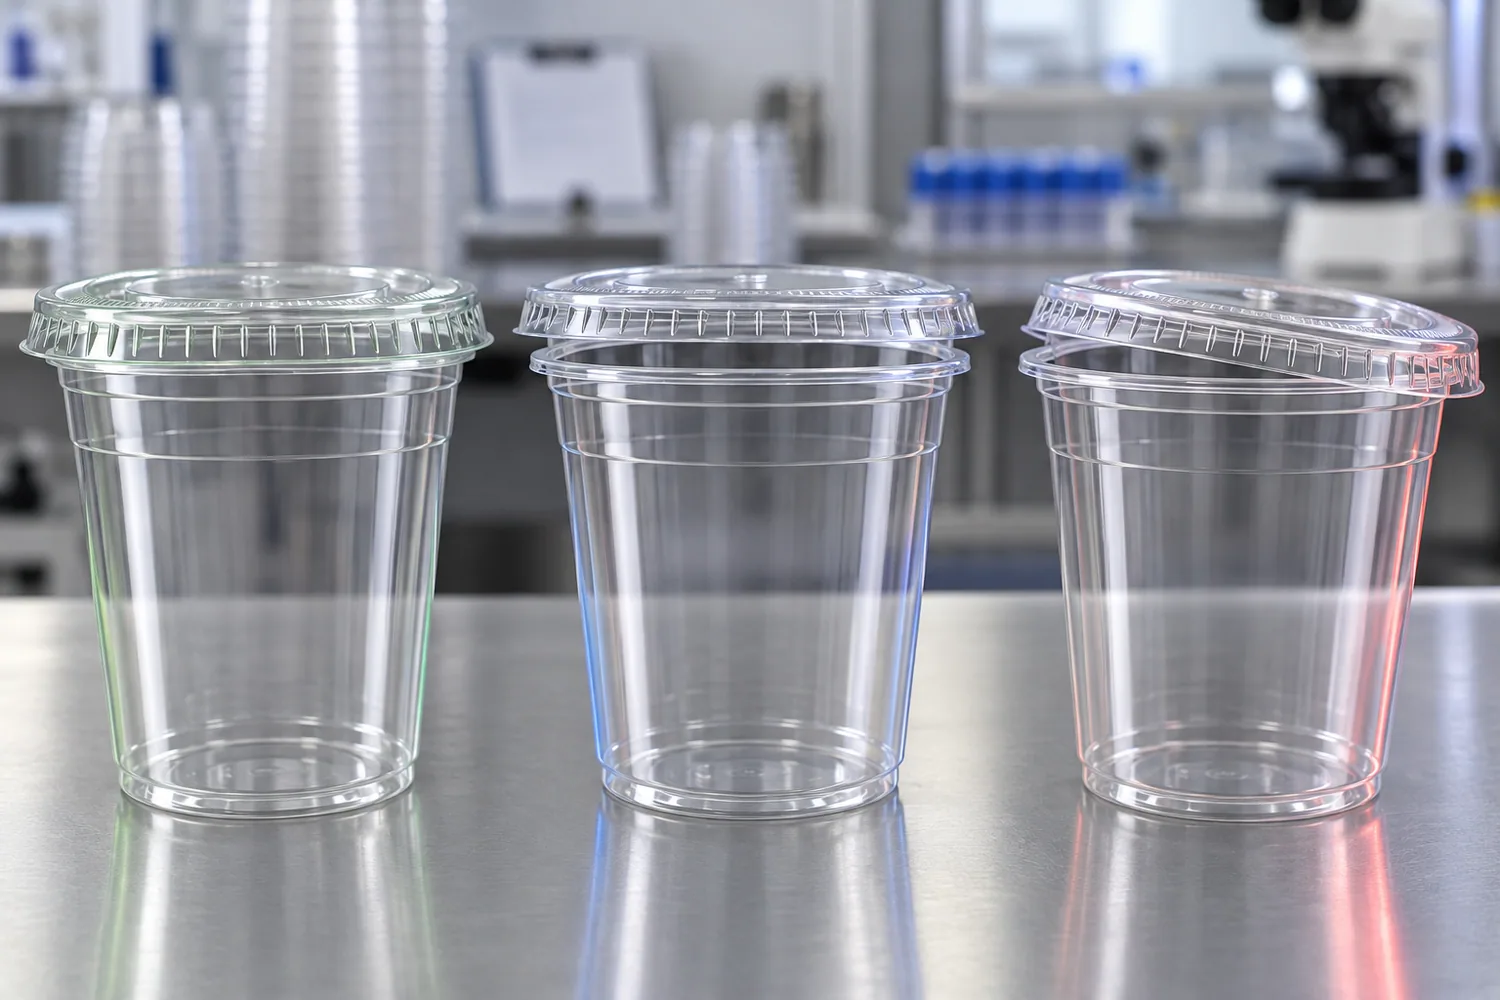
A lid should not be approved because it can be forced onto the cup or stays in place while the empty cup sits on a table. Excessive application force can deform the rim, while shallow engagement may release during normal handling. Approve the exact pair using representative production samples.
Incomplete Lid Application Is a Common Service Problem
Even a correctly selected plastic cup lid can fail when one section of the locking skirt remains above the rolled rim. This often happens when staff press only the center, close one side and assume the opposite side followed, or work quickly without checking the full circumference.
Use a Full-Perimeter Application Check
- Place the cup on a stable surface without squeezing the sidewall.
- Align the lid evenly over the complete rim.
- Press around the circumference using the supplier-recommended application method.
- Look and feel for a high section, uneven skirt or incomplete snap.
- Lift and handle the cup only after the entire rim appears engaged.
Application should not require extreme force. If trained staff cannot achieve consistent engagement across representative samples, stop treating the issue as an operator problem and recheck product compatibility, component condition and lot variation.

Cup or Lid Deformation Can Break Rim Engagement
Thermoformed PET cold cups and their lids depend on controlled geometry. A cup rim that becomes oval, crushed or uneven may no longer present the shape the lid was designed to lock around. A warped lid or damaged locking skirt can create the same result from the opposite component.
Deformation can originate before service. Tight packing, rough carton handling, unsuitable storage conditions or damage during denesting can affect individual components. It can also occur during use when staff squeeze a flexible cup, force it into a carrier opening or hold several filled cups by their sidewalls.
How Buyers Can Separate Cup and Lid Causes
Use a small cross-check matrix. Test several lids from one stack on several cups from different sleeves, then repeat with another lid stack and carton. If one cup fails with every otherwise acceptable lid, inspect the cup. If one lid fails across several sound cups, inspect the lid. If failures cluster by carton or lot, preserve the identification and compare that group with the approved reference.
Do not reshape a failed sample and call it approved. Photograph the original condition, retain representative parts and record the cup SKU, lid SKU, sleeve, carton and lot information available. That evidence makes supplier investigation more useful.
Fill Level, Rim Contamination and Toppings Change the Result
The closure interface needs to be clean and accessible. Liquid, syrup, foam, fruit pieces or ice resting on the rim can interfere with lid application. An overfilled drink can also place contents against the underside of the lid, allowing normal movement to create upward force or uneven pressure.
For drinks with cream, foam or toppings above the rim, a flat lid may not provide the required clearance even when it technically matches the cup. An approved dome lid can create headspace, but it still needs the correct rim system and a filled-cup retention check. The choice between flat and dome is therefore both an application decision and a compatibility decision.
Buyers should define the normal fill level and finished presentation during sample approval. Testing an empty cup or a low water fill will not reproduce a topping-heavy bubble tea, fruit tea or densely iced takeaway beverage.
Sidewall Squeezing, Carriers and Delivery Can Trigger Release
A lid may remain seated on a stationary cup and still lift when the cup body is compressed. The exact response depends on the complete cup-and-lid design, but the practical lesson is simple: the packaging must be tested in the way staff and customers actually handle it.
Common stress points in a cold-drink shop cup system include gripping a filled cup firmly around the upper wall, pushing it into an undersized carrier, packing cups tightly against one another, tilting a bag and allowing a cup to strike another item. These actions can expose marginal retention that an empty tabletop check will miss.
Retention Is Not the Same as “Leakproof”
A lid that remains attached during a defined handling test has passed that retention check. It does not automatically make the package leakproof under every angle, duration or transport condition. If spill control is commercially important, document the exact filled-cup movement, tilt, time and acceptance method.
A Buyer Test Plan for Loose or Popping Lids
Start with a controlled bench check, then add real service conditions. The goal is not to create a universal laboratory standard; it is to produce a repeatable approval method for the buyer's actual cup, lid, drink and handling process.
- Identify the components. Record the exact cup and lid SKUs, material, nominal rim family, cartons and available lot codes.
- Inspect before assembly. Look for oval cups, uneven rolled rims, nested or warped lids and damaged locking skirts.
- Check dry application. Apply clean lids to clean empty cups using the intended method and inspect the full perimeter.
- Cross-test samples. Compare multiple cups and lids from different sleeves and cartons to locate component or lot patterns.
- Run a filled-cup check. Use the intended beverage or a representative fill, normal ice or toppings, and the approved fill height.
- Simulate service. Reproduce gripping, carrier loading, bag placement and a defined short transport sequence.
- Record the failure mode. Note where the lid lifts, when it happens and whether the result repeats.
- Freeze the approval. Retain the accepted specification, lid code, sample and test record for purchasing and repeat orders.

For bulk orders, connect this fit test to the wider plastic cup quality-control plan. The approved cup, matching lid, packing specification and inspection criteria should refer to the same product codes.
What to Send a Supplier When Reporting a Lid-Fit Problem
A photo of a loose lid is useful, but it rarely identifies the cause by itself. A stronger report lets the supplier trace the affected components and reproduce the failure.
- Purchase order, cup SKU and lid SKU.
- Carton, sleeve and production-lot information where available.
- Clear photos of the cup rim, lid skirt and first point of separation.
- A short video showing the application method and when the lid releases.
- Quantity checked, quantity affected and how samples were distributed across cartons.
- Beverage, fill height, ice or toppings and approximate use conditions.
- Whether the failure occurs on empty cups, filled cups or only during handling.
- Representative unused and failed samples retained for comparison.
This evidence prevents a procurement team from replacing the wrong component. If a mixed SKU or application issue is responsible, changing the cup mold will not solve it. If a measurable lot deviation is responsible, staff retraining alone will not solve it.
Final Recommendation
When a plastic cup lid pops off, begin with the exact pairing. Confirm the cup SKU and lid SKU, inspect both components, apply the lid around the entire circumference and reproduce the intended filled-cup handling. Then look for patterns across sleeves, cartons and lots.
Do not approve lids by ounce size, material name or nominal rim diameter alone. Do not describe a package as secure because one lid stayed on one empty cup. The reliable purchasing standard is a documented cup-and-lid system that can be applied consistently and retains acceptable performance under the buyer's defined service conditions.
Frequently Asked Questions
Why does my plastic cup lid fit but still pop off?
Initial fit only shows that the lid can be applied. It may still release because engagement is shallow, one section was not fully seated, the cup or lid is deformed, the cup wall is squeezed, contents press against the lid or the pair varies across production lots. Test retention with the exact filled cup under realistic handling.
Do all 98 mm lids fit 98 mm plastic cups?
No. A nominal 98 mm description does not capture the complete rim and lid-locking geometry. Actual diameter, rolled-rim profile, lid skirt, stiffness and tolerance can differ. Confirm the supplier-approved cup-and-lid combination and test physical samples.
Can overfilling make a cup lid pop off?
It can contribute. Liquid, ice, fruit, foam or toppings on the rim may interfere with application, while contents pressed against the underside of a lid can reduce usable headspace. Set a repeatable fill level, keep the rim clear and use an approved dome lid when the finished drink needs extra clearance.
How should a buyer test cup lid retention?
Identify the exact SKUs, inspect representative samples, apply lids around the full perimeter, cross-test parts from different sleeves, then repeat with the intended fill, grip, carrier, bag and transport sequence. Record the method and acceptance result so later lots can be checked consistently.
What information should I send when a lid keeps coming off?
Send the cup and lid SKUs, order and lot information, photos of the rim and lid, a video of application and failure, quantities checked and affected, beverage and fill details, and unused and failed samples where practical. This helps distinguish incompatibility, damage, handling and lot variation.
The fastest way to diagnose a popping lid
- Freeze the exact cup SKU and lid SKU before testing; never diagnose from diameter or ounce size alone.
- Mark the first point that lifts, then inspect rim condition, full-perimeter seating and sidewall deformation.
- Repeat the check with filled cups under the real carrier, bag and hand-grip conditions.
- If failures cluster by carton, sleeve or production lot, isolate the affected lot and compare measurements with the approved sample.
Buyer Checklist
- Record the exact cup SKU, lid SKU, material, rim family and production lot.
- Confirm the lid is supplier-approved for that exact cup rather than only sharing a nominal diameter.
- Inspect both components for ovality, warped rims, damaged locking skirts or nesting damage.
- Apply the lid around the complete circumference and check for one high or unengaged section.
- Keep liquid, ice, fruit, foam and topping residue below and away from the rim during application.
- Test filled cups after normal gripping, carrier loading, bagging and short transport simulation.
- Compare several samples from different sleeves and cartons instead of approving one convenient pair.
- Retain the approved sample, written specification and acceptance method for repeat orders.
Need a Verified Cup-and-Lid Match?
Send Cupschina your cup size, material, rim requirement, lid style, beverage application and quantity. We can help identify an appropriate matched system and arrange samples for approval.


